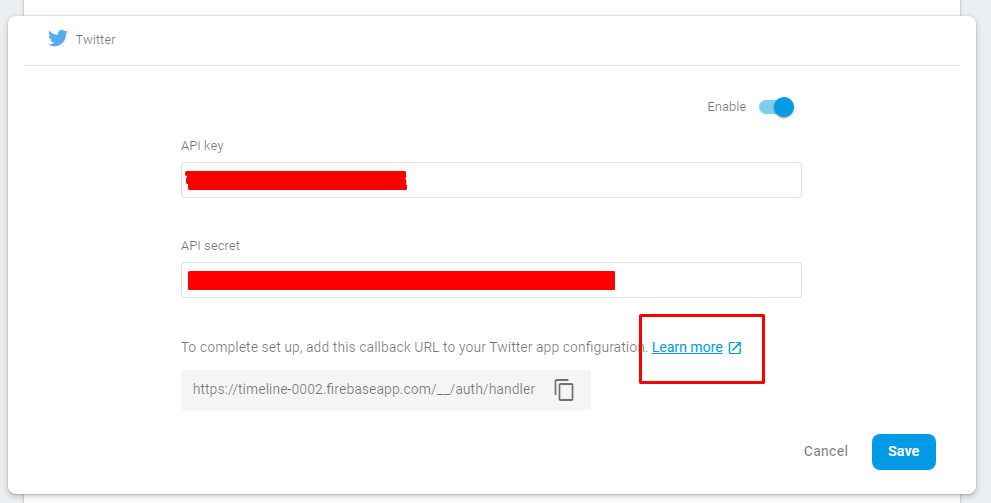
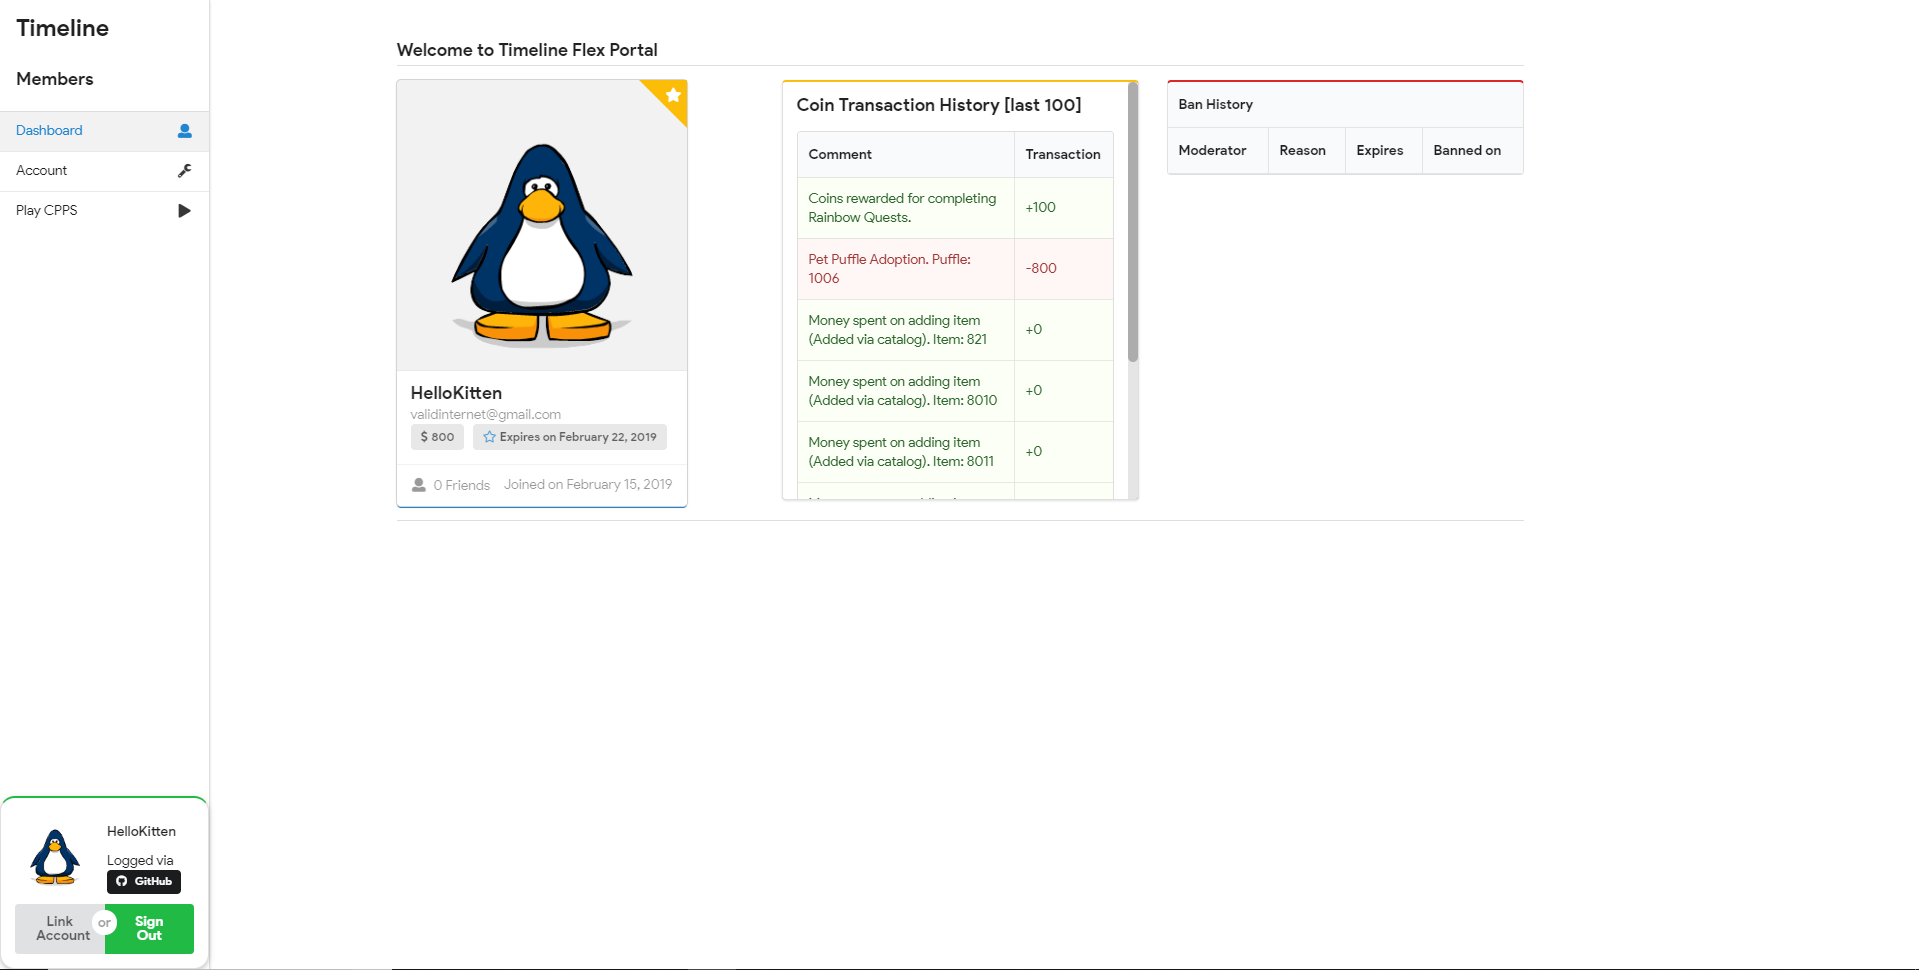
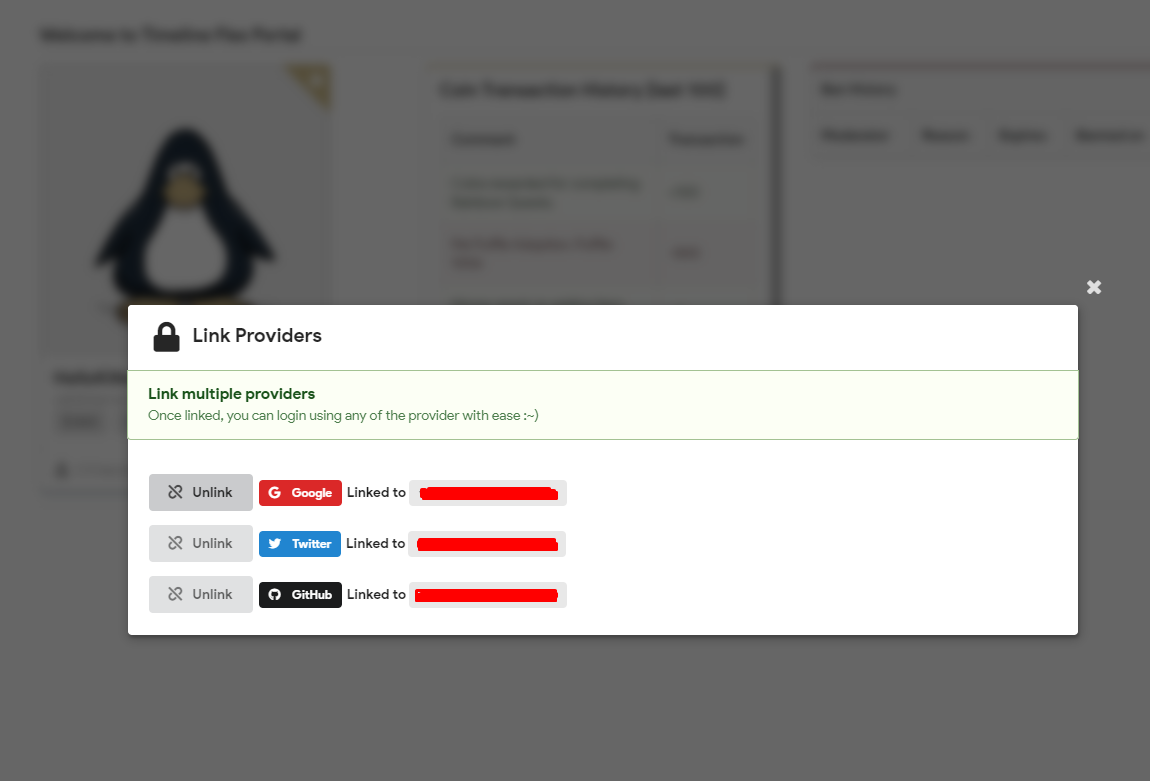
In order to login using any of 3rd party providers, you might need to follow their setup guide (you can do by clicking Learn more)
Introduction
Firebase Setup Human-free
Before you go on setting up a Firebase project, it's MANDATORY you have an active Google Account, which you are going to use for creating a Firebase Project
You have to work-out all parts in this section to make this login system work. No-skipping on any topic
Jump to Firebase Console , login if required, and create a new project.
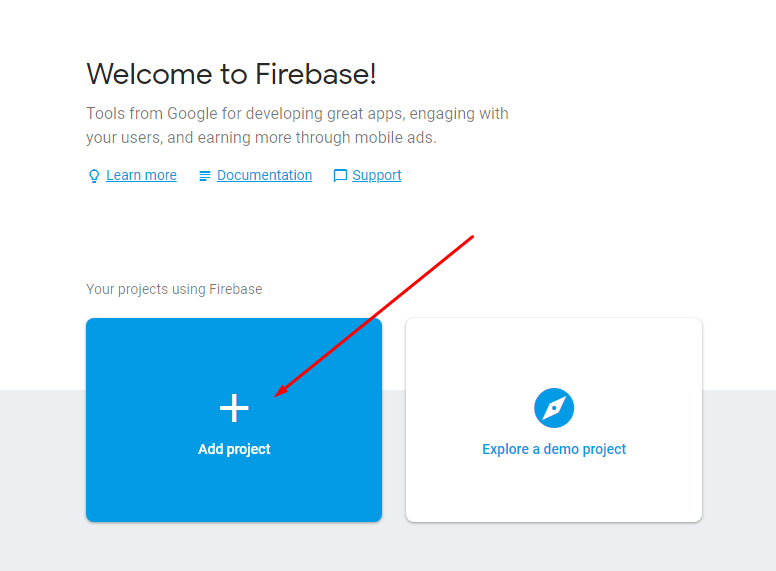
Give it a cool name, agree to the terms and Create your project

Now, on the Firebase dashboard, click on Authentication on the left panel, then move to Sign-in method tab

Make sure you enable all required providers using which your user may want to signin.

So good, sooo faaaar.
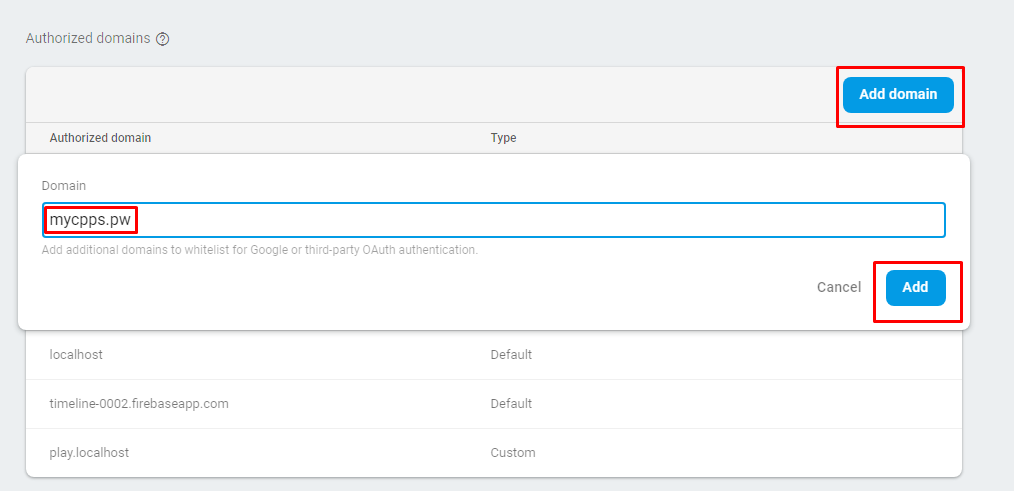
Now, If you are hosting it on a domain (and not localhost), you MUST add your domain as one of trusted ones. To do this, scroll down for and add your domain name to it.
Website Integration 100 AI-free
This needs some concentration and enough patience.
Now, let's Setup Firebase in Web
We might want to replace lines in js that has your project configs. To do this, first move to your Firebase Project's dashboard. In there click the Web icon, to get your project config

You will be provided with something similar to this. Copy the contents inside THE RECTANGLE BOX highlighted

Now open or
In the beginning of the file, paste what you have copied, so it would look something similar to this,

Note: If you are hosting on DOMAIN (not on localhost), you might want to change , just few lines below (as seen in the pic)
Next, open or and repeat the same procedure as you did for .
Now, in this same file, If you are hosting on DOMAIN and not localhost, you should change all occurance of to your domain name
Also, this file contains URLs for Avatar (change it as required)
This file also contains POST requests to TimeFlex server, it's already listening on a cloudflare supported HTTP port. Change it as required.
Setup Dependency 100 Manual
In order for this Firebase integration to work, you require a specialized login system - autologin, that logs you in via firebase authentication system.
To do this, first you need to download into your client folder.
Run the following command
Download the following .swf file put it into media1/play/v2/client
Download autologin.swfNow to edit dependencies.json, open the file
Find the following
{
	"id": "login",
	"title": "Login Screen"
}
After that add a comma (,) and paste the following
{
	"id": "autologin",
	"title": "Auto Login"
}
It should look something like

Save. And it's all DONE!
Timeline Integration 100 Rational
Make sure you have Timeline v7.2 or later, in order to support Firebase Login System.
Now, go to Firebase Project' dashboard, click on the gear (setting) icon, click Project Settings, go to Service accounts tab

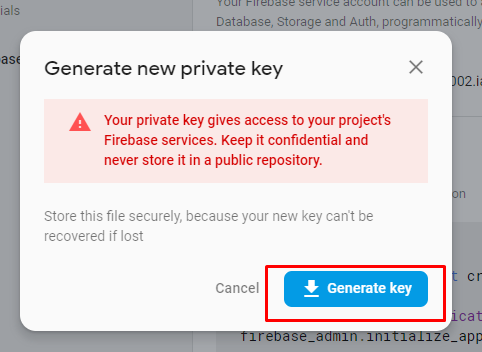
Scroll down, click on Generate new private key button

You will receive a popup, click on Generate Key. A json file will download.
Rename the json file to
Now, move the FirebaseCredential.json file to folder
You will have something similar to this

You are done with Timeline setup. Make sure you have installed python module ()
Setting TimeFlex Setup-free
First, install required python modules
Good, now download TimeFlex webserver
Run the following commands
apt-get install unzip
unzip master.zip -d /sources/
cd /sources/TimeFlex-master/
Now, extract the contents into an easily accessible directory (eg. Desktop)
Open inside TimeFlex-master folder. Edit your mysql configurations, and save the file.
Open , find the following
CORS(app, supports_credentials=True, origins=['play.localhost', 'localhost'])
replace , or add your own domains through which you are going to send request to TimeFlex.
Tip? Just change to your domain name like
Now one IMPORTANT stuff to do - FirebaseCredential.json, copy the same you have downloaded in previous topic, that you have placed in Timeline-master/configs, and place the file in TimeFlex/config. So you would have something like

Now, all that's left to do is Run TimeFlex
To do that, execute the following command
python Flex.py
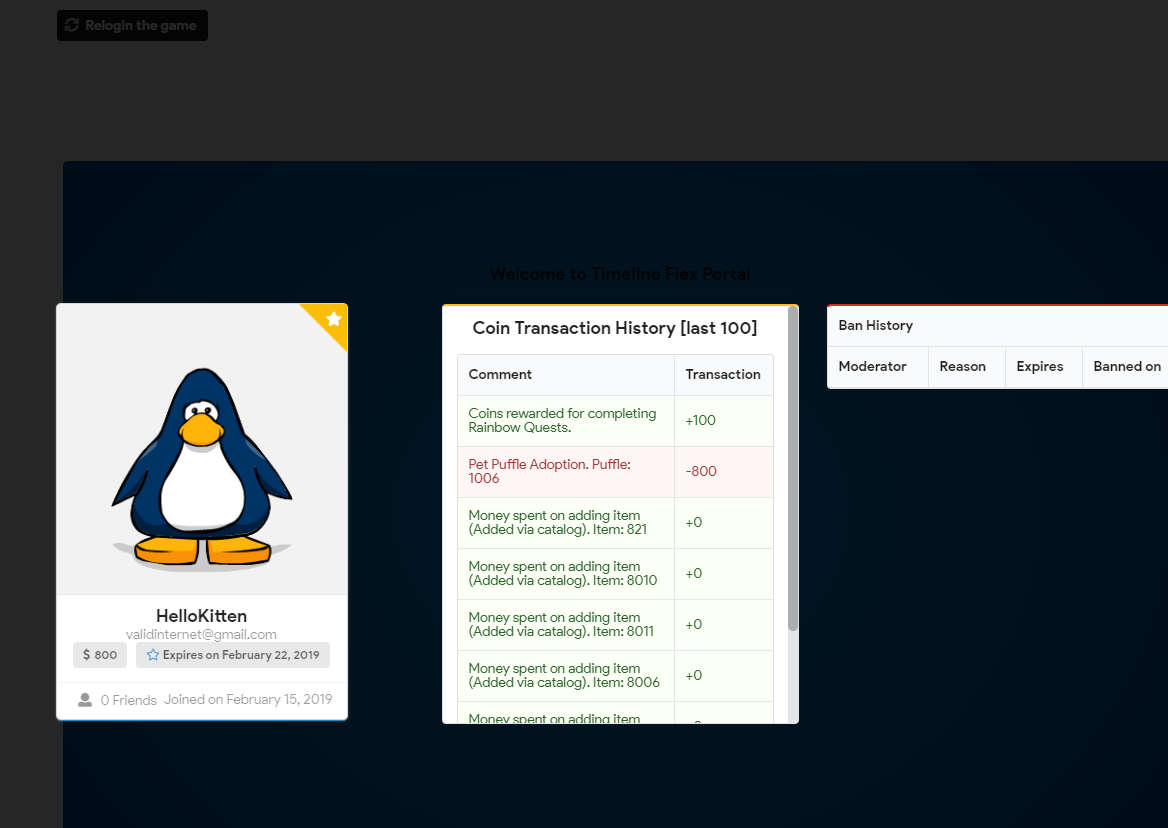
YaYYYY! all done now you can just visit play.localhost or play.mycpps.pw and enjoy the brand new login system

